This article first appeared on September 16, 2020, as a guest post at Patricia Newman's blog, LitLinks, Authors, Educators, Scientists sharing the natural connections between STEM and Language Arts.
Life Cycle Reinforces Reading:
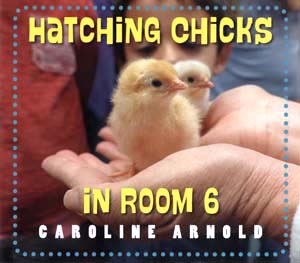
Among the many lessons learned in HATCHING CHICKS IN ROOM 6 is the life cycle process–from incubating the eggs, seeing the shells break open, to watching the chicks grow from fluffy balls to fully feathered chickens. It is one thing to be told that chicks grow in eggs, but another to actually see an egg hatch with your own eyes. This photo essay follows an egg from the time it is laid in the henhouse, through the incubating and hatching process in a school classroom, to the time when the chicks are ready to go back to the flock. Children observe the eggs and chicks up close as they learn firsthand about a chicken’s life cycle.
Strategies for reading Hatching Chicks in Room 6:
Main text: The text of HATCHING CHICKS IN ROOM 6 is written on two levels—the main narrative, printed in larger type, and sidebars, printed in smaller type. Headings are red and in capital letters for emphasis. What is the effect of telling the story in the present tense? Does it make you feel as if you are participating in the process?
Sidebars and captions: The sidebars and captions add information, provide the opportunity to introduce more difficult vocabulary, and expand on material in the main text. Note that the sidebars are printed over a photo of an egg, reinforcing the theme of the book.
Photos: “Reading” the photos is an important part of understanding the book. Photos:
- Add information to the story (such as showing what an incubator looks like),
- Show the children in their environment (in the classroom and outside in the chicken pen),
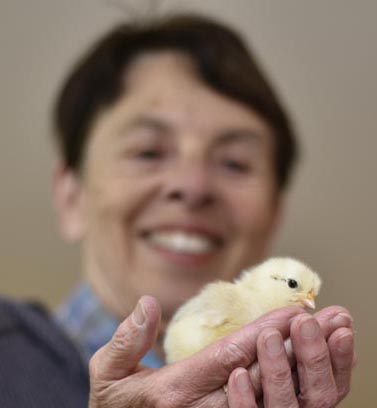
- Provide a sense of scale (we see the size of a newly hatched chick as it rests in a child’s hand), and
- Enlarge details for a closer look (the parts of a chick’s body).
- The photos also reveal the children’s emotional response to the chicks. We see and share their sense of wonder as they participate in each step of the process.
Hands-on: How many days to hatch a chick?
The events of the story in HATCHING CHICKS IN ROOM 6 occur in chronological order. You can use these events to create a time line, beginning with the day the eggs go into the incubator. Click HERE for a downloadable coloring page.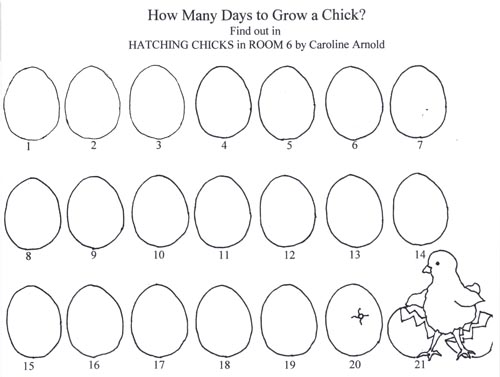
Which came first, the chicken or the egg?
In one classroom of second graders, the children made a mixed media presentation to show the life cycle of a chicken. They used packing material to represent the chicken’s nest, real feathers to represent the growing chick, a hand-print for the body of an adult chicken, markers for drawing, and googly eyes for all. Mounted on a large poster board cut into an egg shape, with black arrows drawn to indicate the circular process, it is a dramatic and colorful presentation.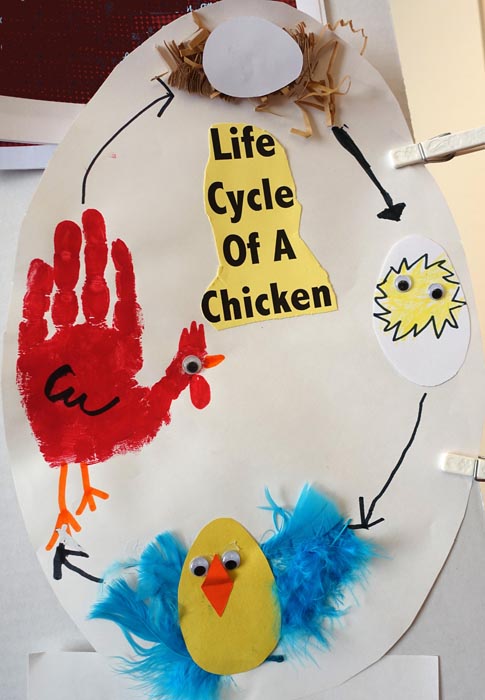
Ready to hatch!
When a chick is ready to hatch, it uses its beak to poke a hole in the shell.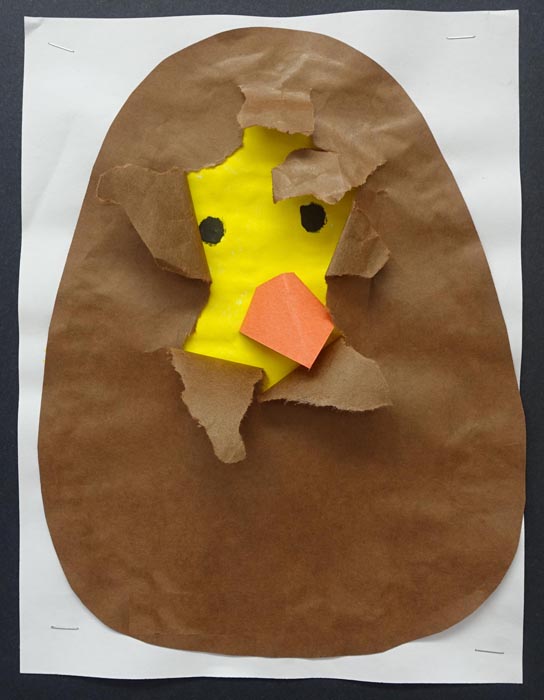
1. Cut out two large egg shapes from yellow and brown paper. Cut a small hole in the middle of the brown paper. Glue the egg shapes together around the edges.
2. Carefully tear back the hole in the brown paper, pulling the pieces to reveal the yellow paper underneath.
3. Use a marker to draw two black eyes. Cut a triangle of orange paper and fold in half to make a beak. Glue it on.
Now your chick looks like it is ready to hatch!
No comments:
Post a Comment
Note: Only a member of this blog may post a comment.